Handmade Thread Spool Organizer

The handmade spool organizer my brother made when he was 9 yrs old. (Photo by Charlotte Ekker Wiggins)

The handmade spool organizer my brother made when he was 9 yrs old. (Photo by Charlotte Ekker Wiggins)

Handmade Thread Spool Organizer

If you do any kind of sewing, you know how hard it is to organize, and keep organized, your spools of thread.

We grew up making a lot of things, especially for gifts, and one year my 9-year old brother made this thread spool organizer as a gift for my Mom. I still have an old hat box with some of her thread spools, forming a nice tangled mess every time I try to paw through it looking for a particular color.

My brother made the handmade thread spool organizer all by himself so you know it is relatively easy to make. And since i have it after all of these years, you also know it is practical as well as appreciated!

How to Make a Handmade Thread Spool Organizer

You will need a piece of wood, 1.5 inch nails, a hammer, a ruler and a pencil. This particular handmade thread spool organizer is 11x17 inches with 5 rows across and 7 rows down.

Mark the straight lines down, then across. Where the lines intersect is where you will hammer in the nails.

Not exactly straight lines but straight enough! (Photo by Charlotte Ekker Wiggins)

Not exactly straight lines but straight enough! (Photo by Charlotte Ekker Wiggins)

My brother doesn’t remember if he painted this or just recycled a piece of wood. My guess is it was recycled.

Spools of thread waiting fo their turn on the organizer. (Photo by Charlotte Ekker Wiggins)

Spools of thread waiting fo their turn on the organizer. (Photo by Charlotte Ekker Wiggins)

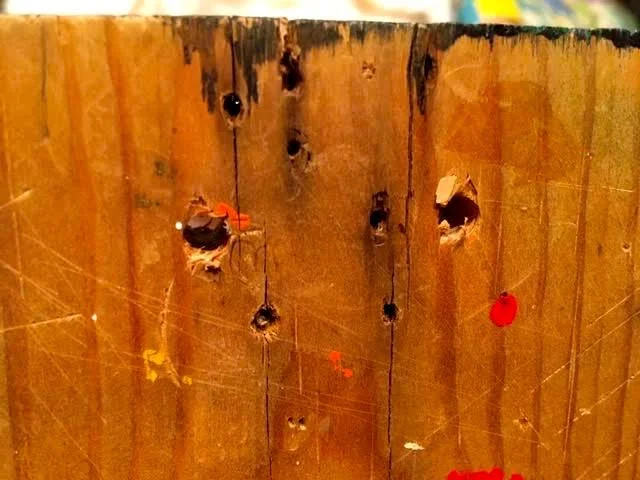
The back has a picture hangar so that the handmade thread spool organizer can be hung in a sewing corner.

Oops, the picture hangar must have fallen off the back. (Photo by Charlotte Ekker Wiggins)

Oops, the picture hangar must have fallen off the back. (Photo by Charlotte Ekker Wiggins)

Looks like there were several hanging options. I need to add a picture hangar to the back side, now I remember why this is leaning against the wall and still doing its work.

thread organizer on table.jpg

My mother repurpsed an old spice rack, left, for her sewing items: sewing machine needles, pins, pieces of ribbon. These two work well as my little sewing support station. You can find the spice racks at local thrift stores and vintage shops.

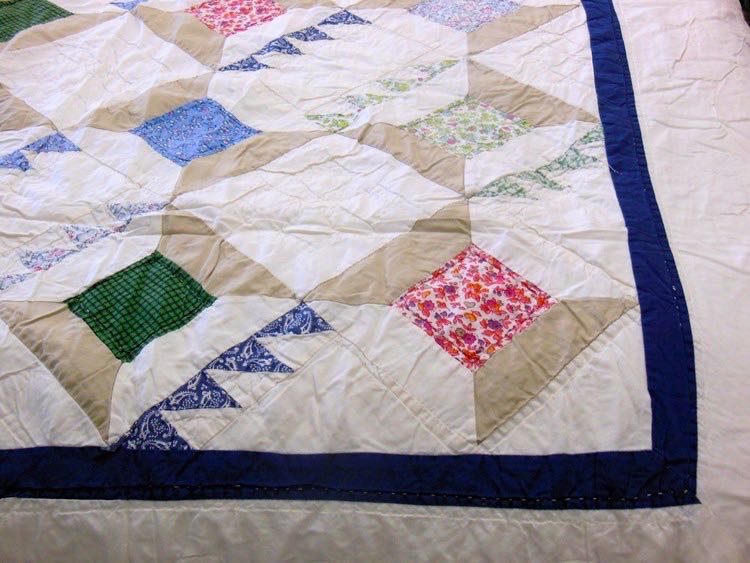
To make this into a personalized gift set, pair this handmade thread spool organizer with some fabrics or, better yet, a vintage sewing spools quilt!

Vintage sewing spools quilt would be a nice addition. (Photo by Charlotte Ekker Wiggins)

Vintage sewing spools quilt would be a nice addition. (Photo by Charlotte Ekker Wiggins)

If you make one, would you please share a photo?

Happy sewing!

Charlotte

Painted Apple Gourd Birdhouses

Painted apple gourd birdhouses getting their last drying before hanging in trees. (Photo by Charlotte Ekker Wiggins)

Painted apple gourd birdhouses getting their last drying before hanging in trees. (Photo by Charlotte Ekker Wiggins)

Painted Apple Gourd Birdhouses

You are going to start seeing these gourds at local farmers markets late summer so I wanted to inspire you to think ahead. These gourds can make charming homemade gifts as hand painted birdhouses so this is how to make them into something simple: apples.

A friend gave these to me with the wren-size holes already drilled. I love wrens as well as the other birds that like the 1 1/4 inch hole entrance: tufted titmice and downy woodpeckers. If you want these birdhouses for other birds, check on what size entrance the specific bird likes. You can find a number of these guides online, here is one as an example:

Bird house hole sizes.jpg

The gourd will also need holes on the bottom to let any moisture drain. A simple drill bit 1/4 inch wide will do the trick.

Drilling holes in the bottom help the gourds stay dry. (Photo by Charlotte Ekker Wiggins)

Drilling holes in the bottom help the gourds stay dry. (Photo by Charlotte Ekker Wiggins)

Simple eye hooks securely screwed into the top will work to hang these gourds. I used copper wire from plant packaging to give the gourds a safe hanging wire.

Simple eye hooks into the top next to the stem make the gourds easy to hang. (Photo by Charlotte Ekker Wiggins)

Simple eye hooks into the top next to the stem make the gourds easy to hang. (Photo by Charlotte Ekker Wiggins)

Now paint the gourd with a good primer.

Once dry, add a coat of red. I used Valspar satin paint sample jar, cost around $2.50.

Once dry, I added two more coats, drying in between.

Green leaves on the top add dimension. (Photo by Charlotte Ekker Wiggins)

Green leaves on the top add dimension. (Photo by Charlotte Ekker Wiggins)

The green leaves where added free hand first in a solid satin dark green, those took two coats.

A lighter green gave the leaves some dimension.

The stems were painted brown; those took only one coat.

Once dry for a good 2 days, I finished by spraying with a clear plastic coat.

Painted gourds on a stick drying outside. (Photo by Charlotte Ekker Wiggins)

Painted gourds on a stick drying outside. (Photo by Charlotte Ekker Wiggins)

This gourd has a wider opening courtesy of a wintering mouse. (Photo by Charlotte Ekker Wiggins)

This gourd has a wider opening courtesy of a wintering mouse. (Photo by Charlotte Ekker Wiggins)

So two gourds will welcome wrens. The third one, with the wider opening courtesy of a wintering mouse, might be attractive to nutchatches or maybe a yellow bellied sapsucker. 

Better yet, make a painted apple gourd to add to one of our songbird throws and you will have songbirds in hand.

Now wouldn't you like to get one of these as a gift for your garden?

Charlotte


Handmade Cards Art

This bluebird was painted by the signer of the card and was turned into a lovely thank you card I was lucky enough to get.

This bluebird was painted by the signer of the card and was turned into a lovely thank you card I was lucky enough to get.

Handmade Cards Art

Although it is becoming a - well, dying art - handmade thank you cards are still a favorite in my house. They are art, unique and stories in and of themselves. 

As we enter the extended holiday season, when some people still teach their children to write thank you cards, here is some inspiration to save your favorites.  To continue to appreciate these lovely pieces, there are several things you can do with these works of original art to repurpose them and keep them in your life:

1. Use as book marks. Instead of turning down the pages to mark where you last left off in a hardcover book, use a card to mark the spot. That way you can still enjoy the card and keep the book pages from getting creased.

2. Mark recipes you want to try. I love reading recipe books but don't always remember a recipe I want to locate again later. When I find one I want to find again, I pop in one of these cards so I can easily find it later.

3. Frame the cards for wall art. This is one of my favorite uses of handmade cards art, especially if you have several in the same theme, such as I did.

It doesn't have to be only a theme, find something that unifies them - maybe they are all the same color, or by the same author.

If all else fails, add a unifying element by placing them all in the same frames.

Love the elegance of this thank you card, a handpainted bird on an old book page in french.

Love the elegance of this thank you card, a handpainted bird on an old book page in french.

The thank you card that inspired me to shop for frames at our local thrift stores was this small bird card by a teenage boy.

I kept all of the cards intact so I can still read the inside messages.

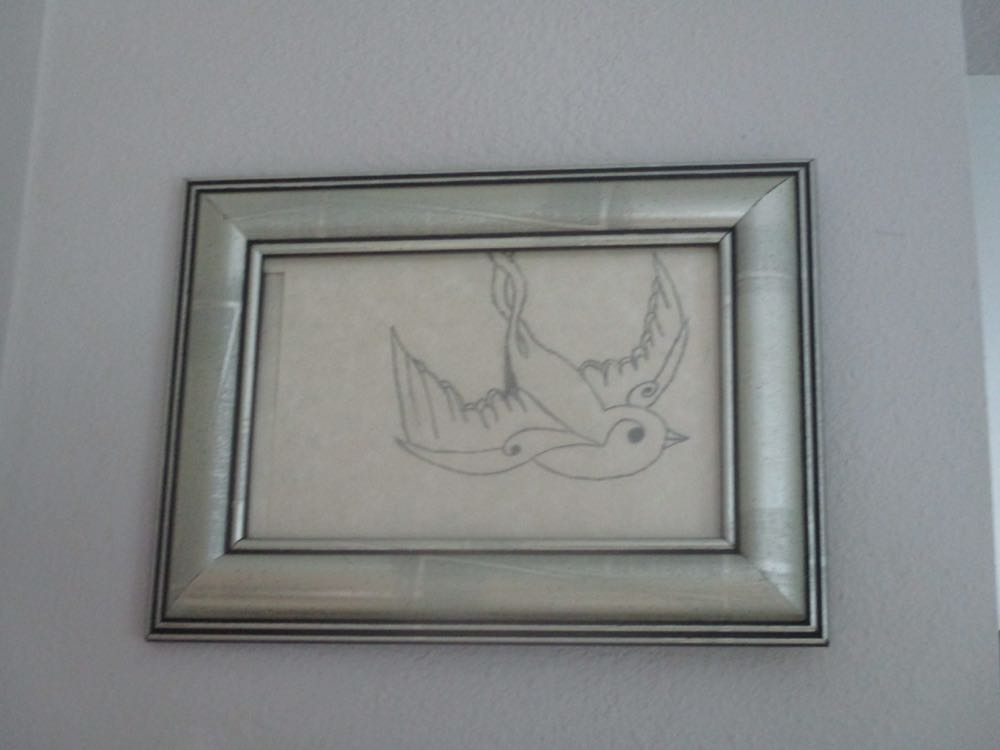
This was a thank you from a young man who drew this bird free hand.

This was a thank you from a young man who drew this bird free hand.

Here they are, all three framed bird thank you notes hanging together off my kitchen:

The picture frames are also each different but are all in silver tones and compliment the cards.

The picture frames are also each different but are all in silver tones and compliment the cards.

Who said you had to pay a lot for original art? You probably have some right in your own mail box!

Charlotte
Making Mug Rugs

I saw several versions of "mug rugs" at Christmas parties this year and can't wait to come up with my own version. I'm thinking I could make a little pouch on the right where a favorite spoon could fit in!

One of the ladies who made this one said they were very popular this year at quilt guilds. She also said they are "very easy" to make so you still have time if you want to make some for Christmas gifts.

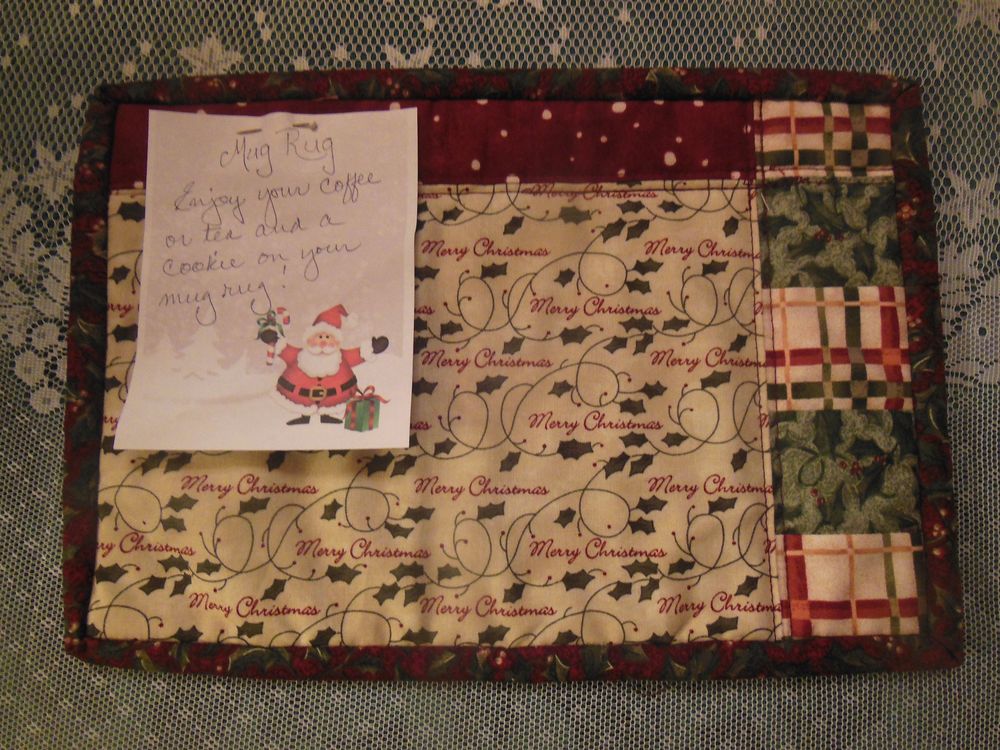
Mug rugs are quilted 8x10 inch miniature quilts so that a mug can be placed on one side and a muffin, or cookie, on the other.

This one was made out a printed Christmas fabric and finished with binding, just as you would a quilt.

 Machine quilting to make a little design can be seen on the back. This picture is a little out of focus but it still gives you the idea:

I also saw another version where a little 3x3 inch flat cotton envelope with cinammon was stitched inside on the mug side. Once heat hits the spice, the aroma is released.

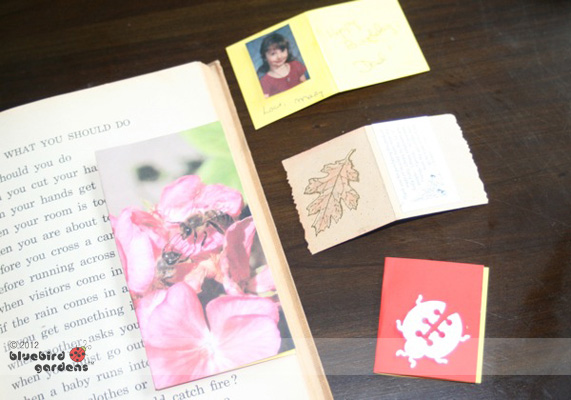
If you make some, remember to add a little card to explain just what this is:

 Sweet little gift idea any day of the year!

Charlotte
Paint Stick Snowmen Ornaments and Gift Tags


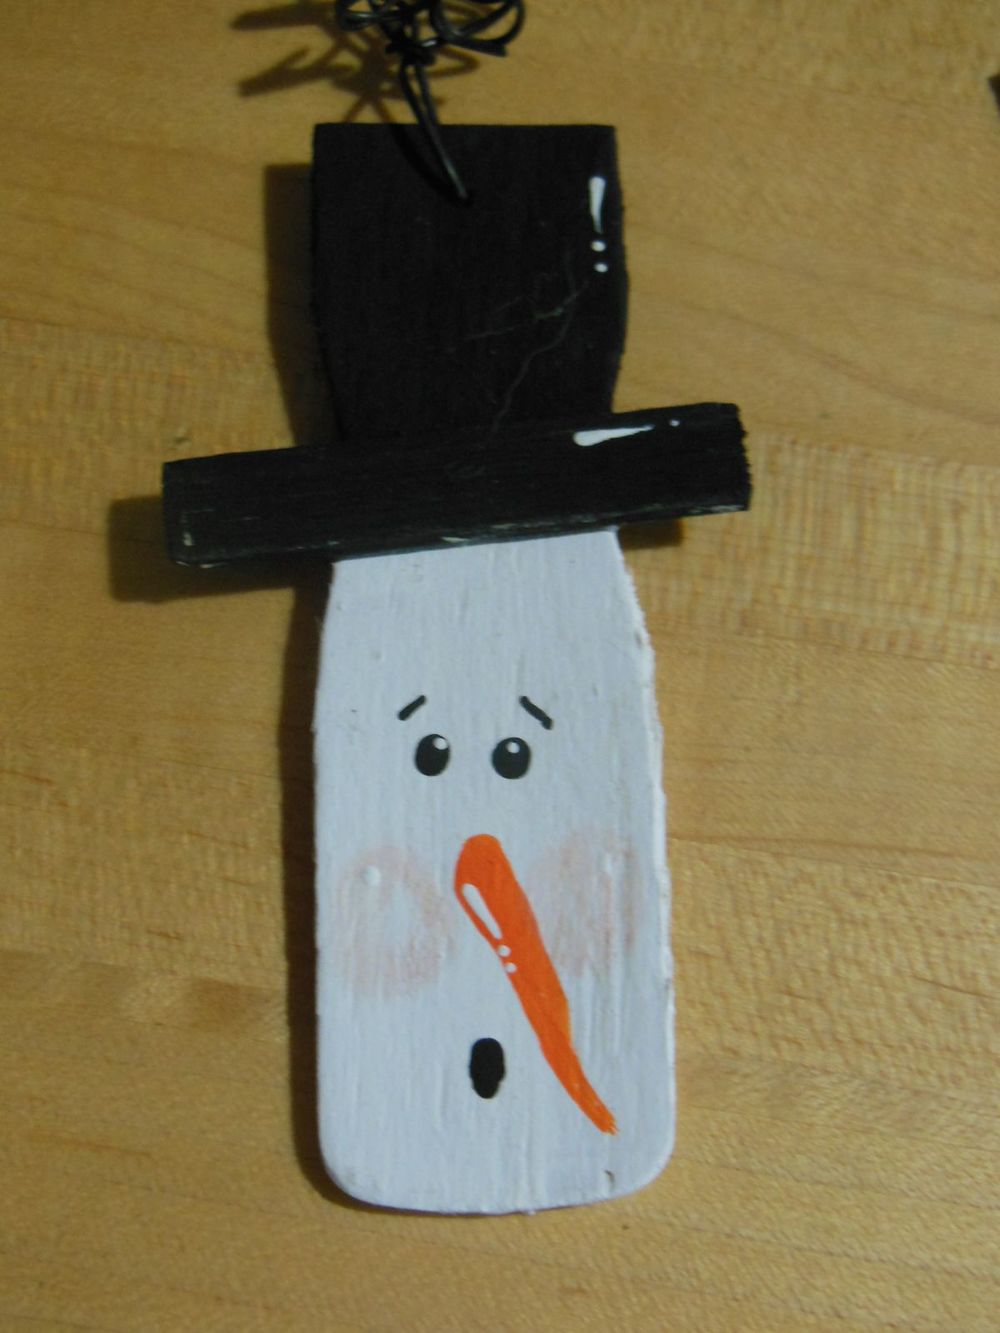
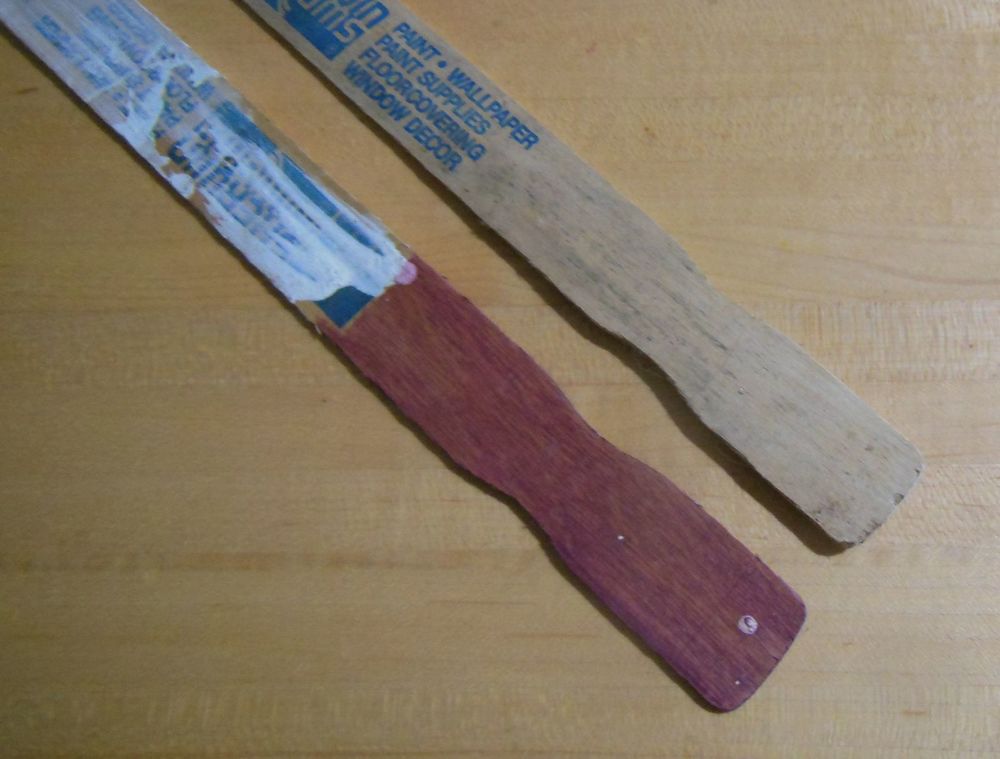
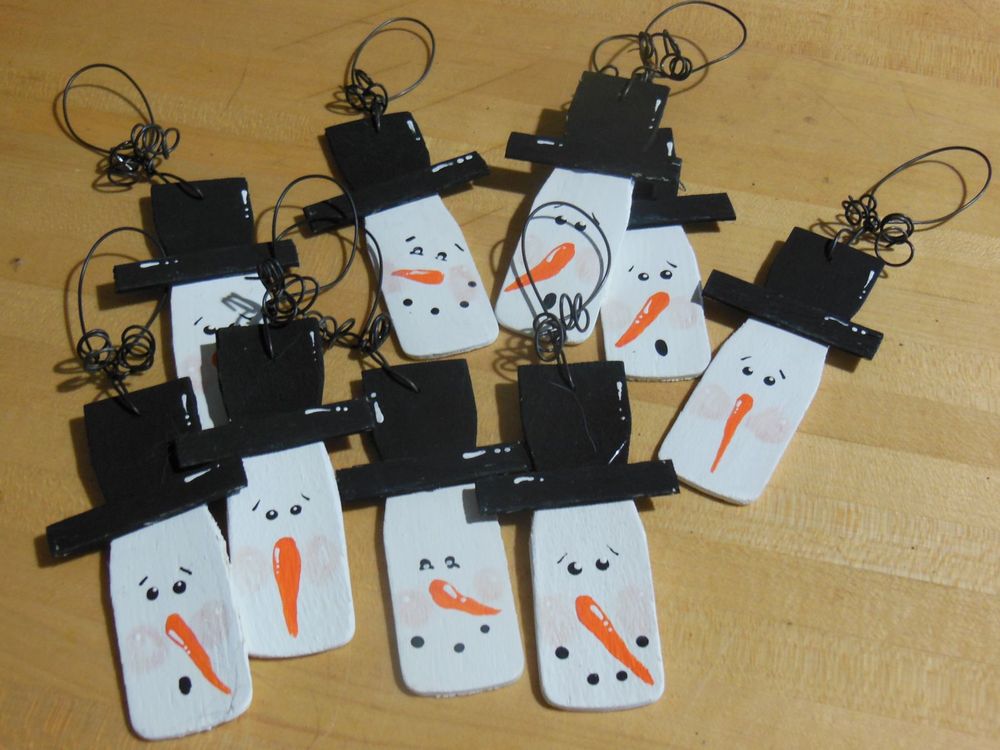
I saw this charming handmade snowman ornament at a local crafts fair. Who doesn’t love snowmen in their holiday home décor and have a pile of paint sticks gathering dust somewhere!

One of my friend’s husbands bought a Let It Snow Throw for her for Christmas so one of these little guys will be on her package as a gift tag. She can then add it to her Christmas tree later as an ornament and memento of this year's Christmas.

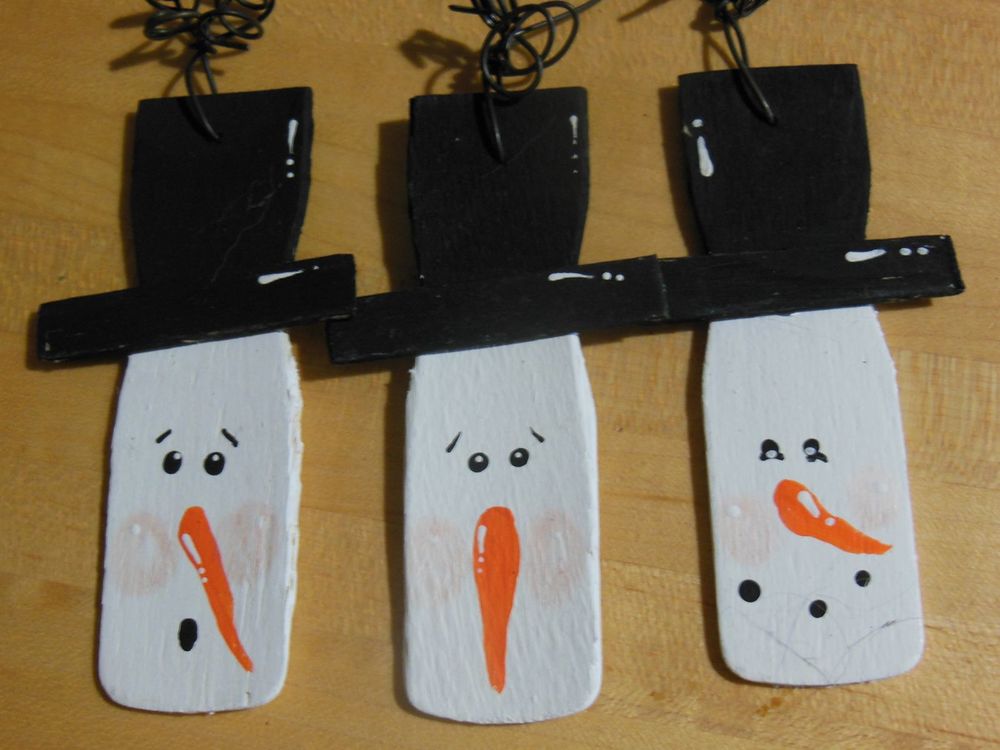
These snowmen were made out of the shaped tip of a paint stick with the hat brim cut out of the rest.

Painting is simple. The charm comes in the details including placement of the dots for the mouth and the little white highlights on the hat.

 These examples have a fancy metal wire hangar but something simple would work just as well.

Fun easy project to do with kids of all ages!

Saving Rose Buds


We've all had them, lovely gift flowers that sooner, or later, start to loose their beauty. Instead of adding to the compost pile, cut off the buds, dry them, then display them where you can see them every day and relive the good memories they generate.

You don't need a fancy bowl, I made this one from two thrift store finds. And don't leave these in a living room corner where you see them as you go by, I have mine on my kitchen island where I can see them, and enjoy them, every day.

In the next few posts, I will show you how to dry the rose buds and make the container.

What have you used to dry your flowers?

Charlotte

How to Make Magnetic Book Marks

How to Make Magnetic Book Marks

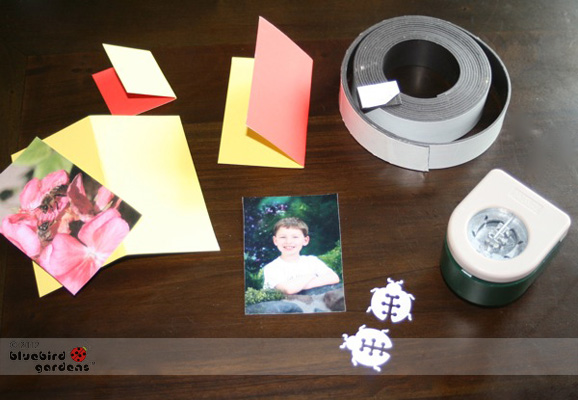
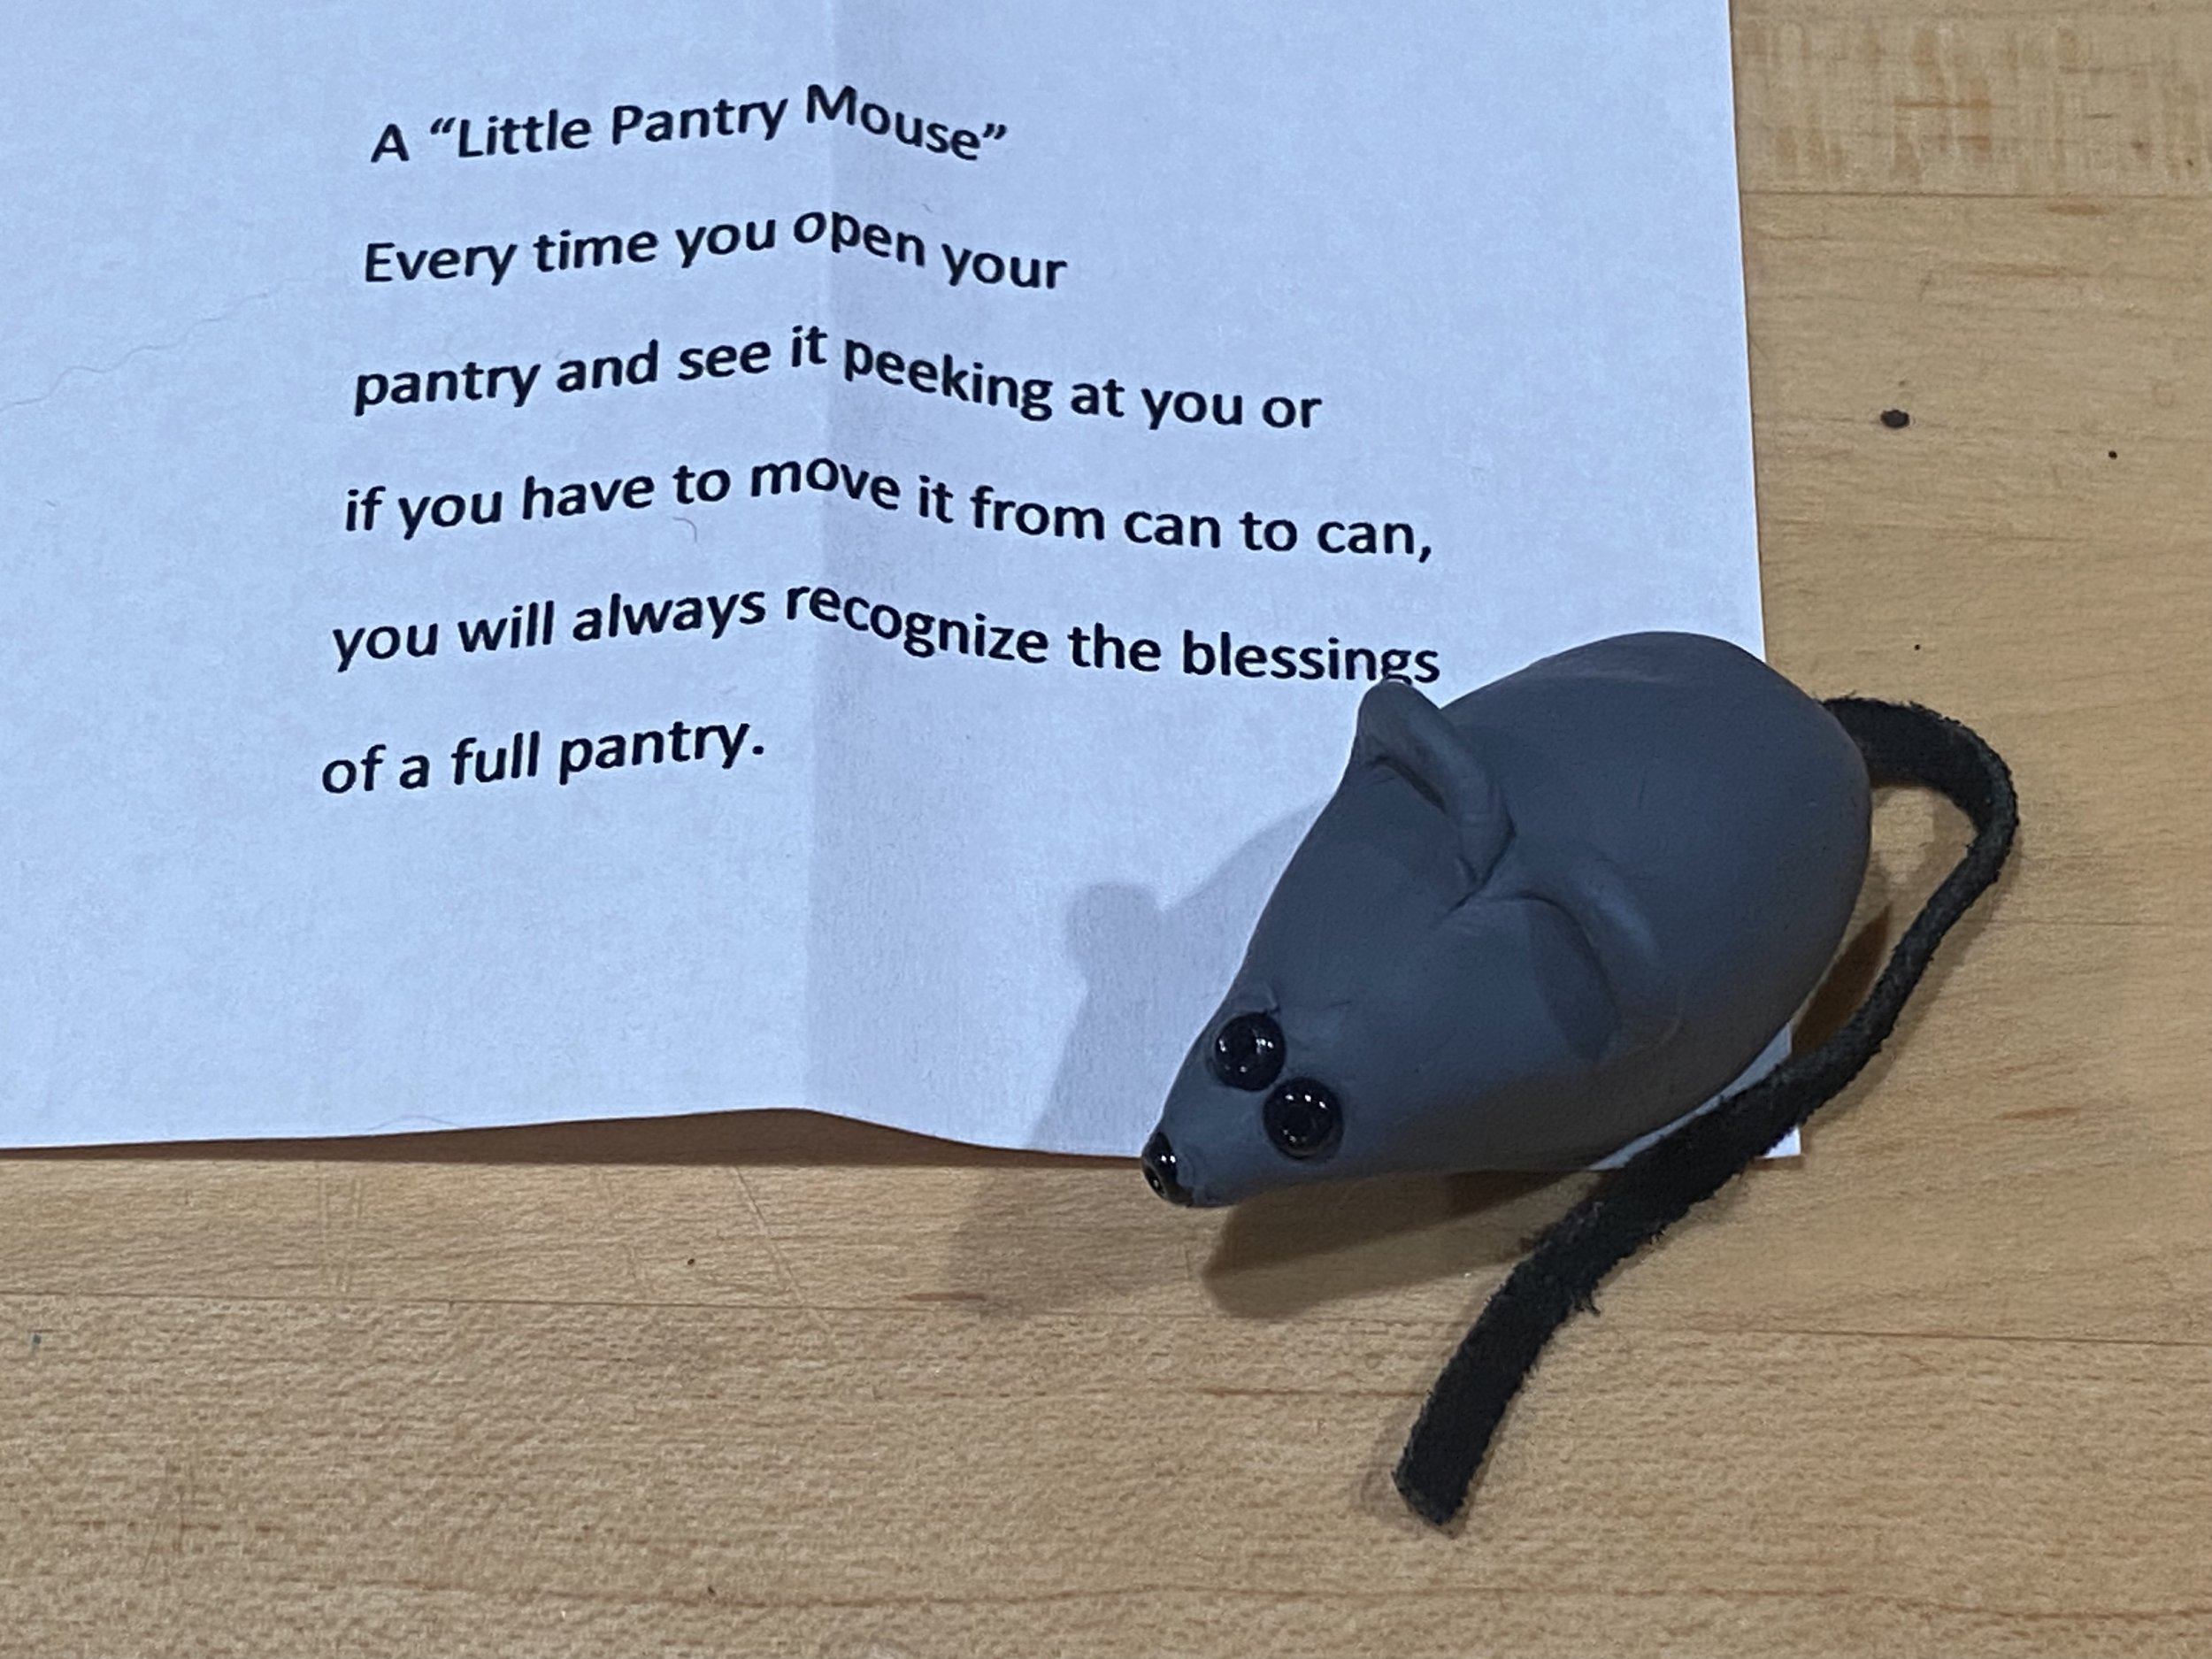
Handmade magnetic bookmarks are a nice way to combine a gift card with something practical. Magnetic bookmarks slip easily over a book page and help mark where a reader left off reading without damaging the page corners. Nice addition to a gift book, such a set of Sesame Street books.

You will need

Cardboard, either new stock or re-use holiday and birthday cards. Magnet strips, available at most craft stores. You can also re-use magnet strips from other projects. Different-colored marking pens. Magazine cut-outs, copies of favorite photos, stickers. Paper glue. Paper scissors.
To make

Cut cardboard into 4x1.5 inch cardboard strips. You can make them bigger or smaller as long as it is a rectangle.

Fold so one side is slightly smaller than the other. Decide whether to attach at the top of the page or to the right side.

Decorate the smaller size with a photo or design.

Decorate the larger side with a dedication and signature.

Cut magnet strip into two pieces. Remove backing.

Glue magnet inside the shorter size; glue the other magnet to the first piece, then fold cardboard to the second magnet so both magnet pieces match.

Allow to dry for 15 minutes.

Apply to a book, or a gift book, as page markers or give all by themselves as handmade gifts.

Charlotte