Fireplace Cover
/
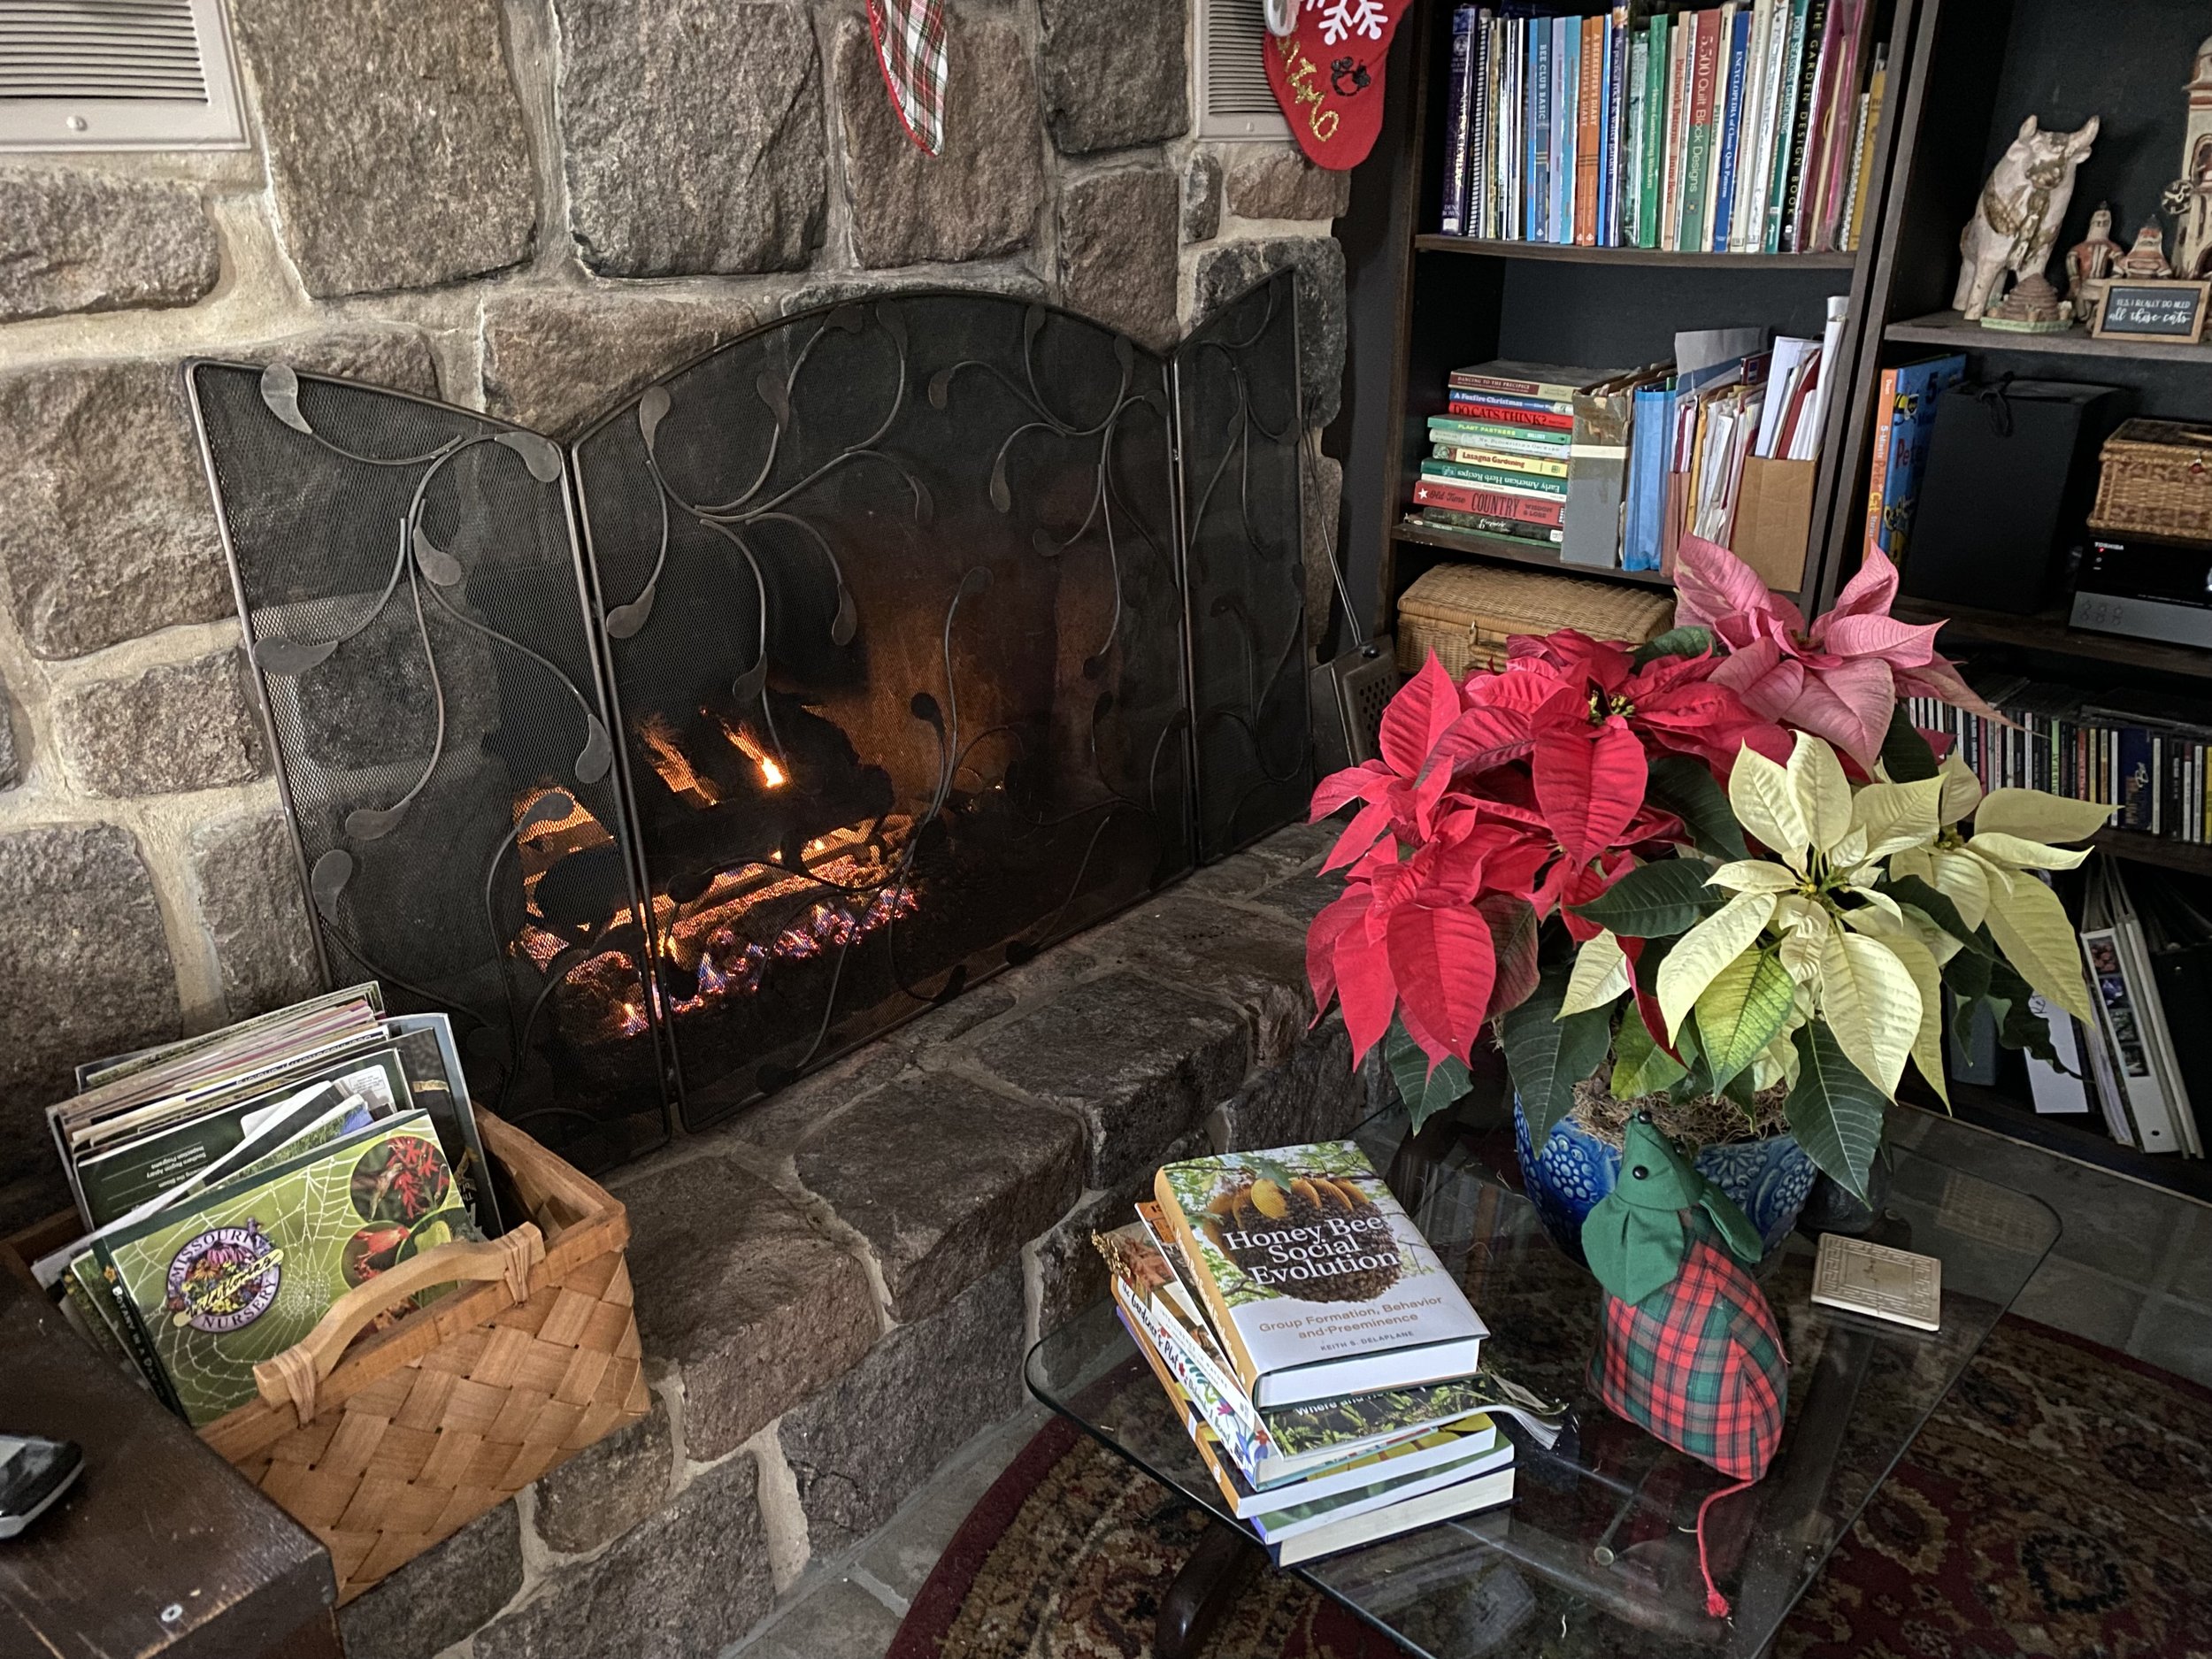
Cozy winter fires can cool a room when not in use unless you have a fireplace cover. (Photo by Charlotte Ekker Wiggins)
Fireplace Cover
The forecast is for more snow, which I love - let it snow as long as we don’t get ice along with it. The forecast includes a few record cold weeks ahead so here’s how to make sure you stay cozy when you don’t have your fireplace going.
Some fireplaces have glass covers that keep cold out and harness the heat. If you don’t have a fireplace cover, this will come in handy when you are not at home and want to prevent cold air from coming in. This also works for covering your fireplace at nights when you don’t have the fireplace in use.
Whether you burn real wood or use gas in a fireplace with an opening to vent to the outside, the fireplace opening in your house can be a huge source of heat loss when not in use.
To keep your fireplace from loosing heat, you can make a fireplace cover. This one is made out of black quilted fabric with a quilt batting fill.
Cut the cover a good 4-6 inches larger than the opening on three sides.
Measure ties on either end that will attach to the fireplace cover grill to keep the fireplace cover safely in place.

This quilted fireplace cover with ties sits on the fireplace opening when not in use. (Photo by Charlotte Ekker Wiggins)
Measure quilting fill to place inside. You can use sewn batting remnants together or double up batting.
Sew the batting to one side of the fireplace cover to keep batting in place. Then sew the back side onto the front, reverse it and finish by sewing the opening shut.
Add the ties. Once tied onto the metal grate, the metal grate is tucked up against the fireplace opening, sealing the opening so that cold weather doesn’t enter the room.

The fireplace cover keeps cold air from entering through the fireplace. (Photo by Charlotte Ekker Wigigns)
If you want something fancier, you could use the front of the fireplace cover for a design out of fabric and leave the back quilted.
I like the black quilted cotton fabric because once it is tied to the metal grate and tucked up close to the opening, you can’t even see that the opening is covered.
We often hear advice about wearing more sweaters and turning the thermostats down to cut down on heating costs. This little trick will also help keep you warm and cozy.
Charlotte