Wax Bulb Amaryllis
/These sale wax bulb Amaryllis are now keeping me company, (Photo by Charlotte Ekker Wiggins)
Wax Bulb Amaryllis
Now that the holidays are over, this is a good time to check for gift flowers on sale. One of the more popular growing Christmas gifts are Amaryllis, now sometimes available with the bulb encased in wax so they grow without soil.
This particular variety is called “Let It Snow Let It Grow Amaryllis,” originally $15 each at a local home and garden center. Right before a snow storm covered my Missouri limestone hillside in snow I found them marked down to $3.75 each.
How appropriate, “Let it Snow Let it Grow Amaryllis,” perfect for mid winter snow storm. (Photo by Charlotte Ekker Wiggins)
Most of the Amaryllis bulbs had one withering stem of flowers with one, if not two of new buds starting to grow. With a little housekeeping, these lovely red bulbs will get a new life and brighten up my office.
Once home, I carefully cut off the spent flower stem. Uncut, the stem will slowly wither and sap strength from the bulb. Leave both the remaining buds and leaves. The leaves collect sunlight and store it in the bulb for future blooming.
Remove the stem with the spend bloom carefully leaving the rest. (Photo by Charlotte Ekker Wiggins)
These particular Amaryllis bulbs are covered with wax and include a metal circle stuck into the bottom of the bulb so it stands.
Carefully remove the metal ring. Pull it straight out or you may damage the bottom of the bulb.
Gently remove the metal base pressed into the bottom of the bulb. (Photo by Charlotte Ekker Wiggins)
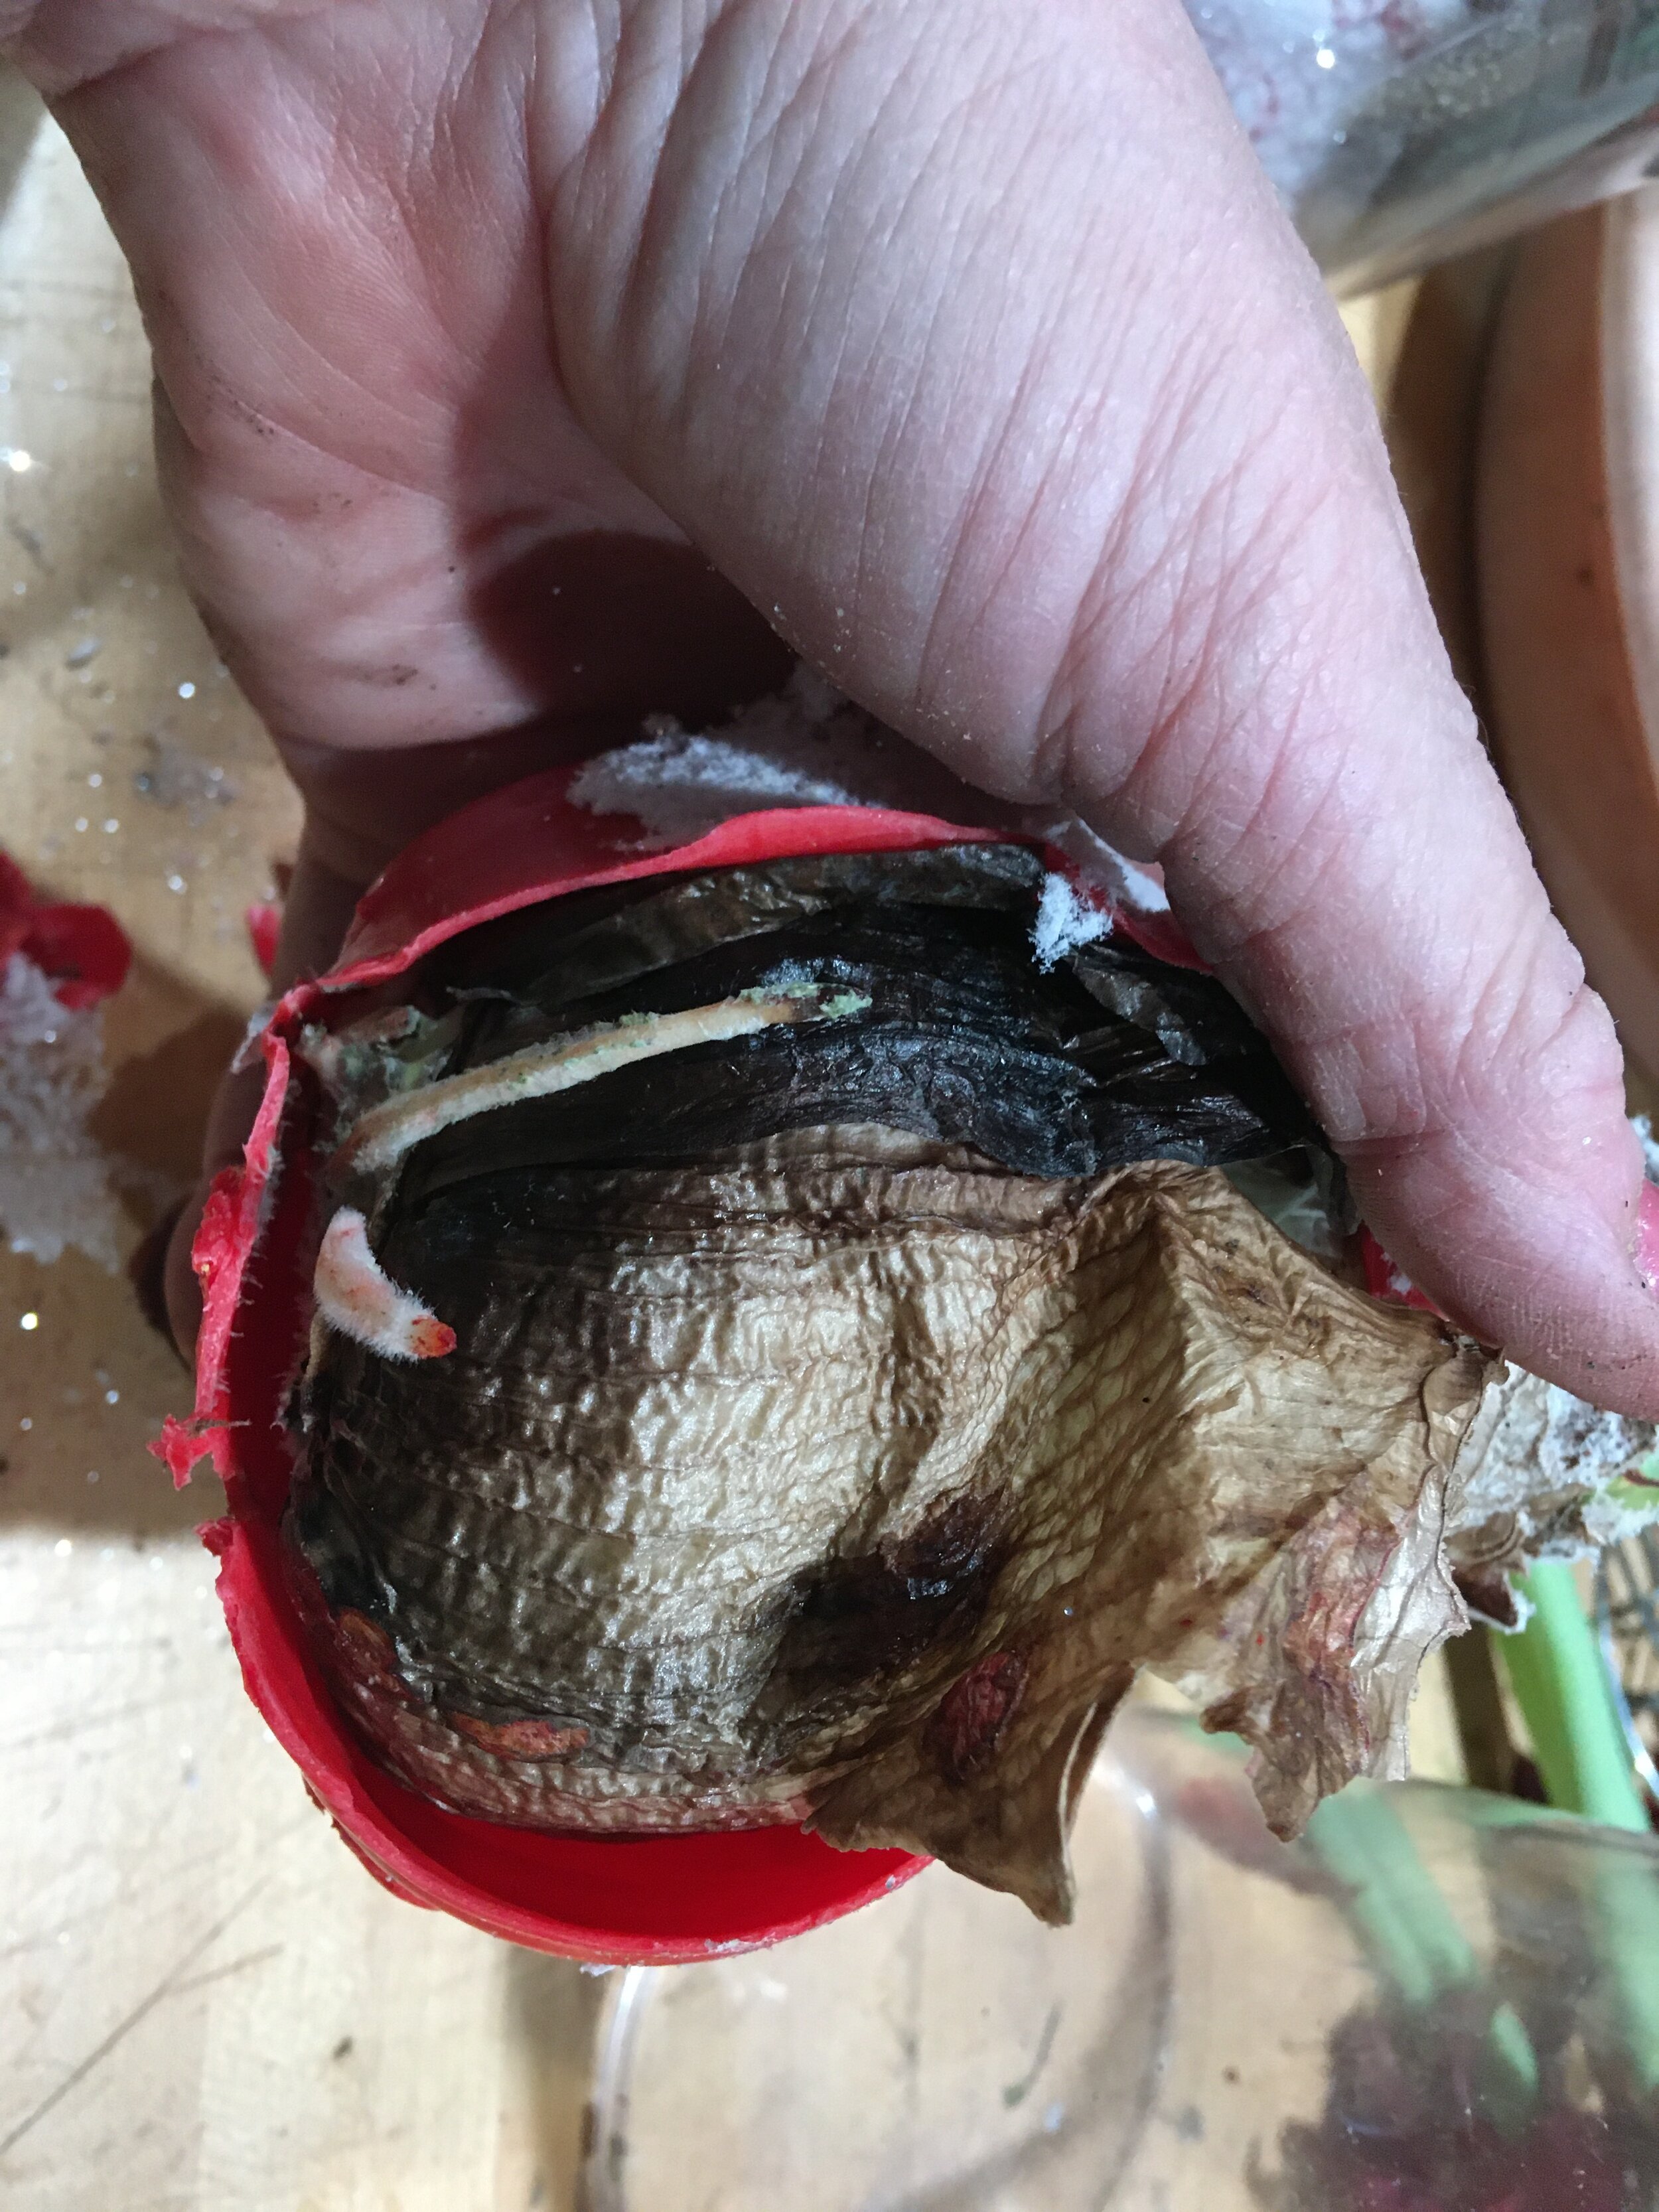
Then cut the wax away from the Amaryllis bulb, exposing the bottom and whatever roots may still be there. Remove the wax cover entirely.
Cut off the wax casing around the Amaryllis bulb. (Photo by Charlotte Ekker Wiggins)
Gently settle the bulb on the top of new potting soil, carefully covering only the roots.
You may need to use a bamboo stick to help the flower bud stay upright since it may be heavier than the rootless bulb.
Tap soil in around the base of the Amaryllis bulb. (Photo by Charlotte Ekker Wiggins)
Gently water the soil. You want it to be damp but not too wet.
Settle the pot full of Amaryllis bulbs where you can enjoy the flowers.
These lovely Amaryllis buds are now keeping me company in my office. (Photo by Charlotte Ekker Wiggins)
I picked up four of these wax bulb Amaryllis and now have them in a pot in the middle of my drawing table in my office.
As each bud blooms, I will have new flowers to greet meet every morning. When the flowers are spent, I will cut them off as I did the ones that are withered and continue to water so the leaves can collect energy and encourage root growth.
With a little care, these bulbs will recover in a year. Like Iris, they should start blooming every year for years to come.
Charlotte


